View in Mac App Store
-
Free
- Category: Utilities
- Released: 16 October 2014
- Version: 10.10
- Size: 5.16 GB
- Languages: English, Arabic, Catalan, Chinese, Croatian, Czech, Danish, Dutch, Finnish, French, German, Greek, Hebrew, Hungarian, Indonesian, Italian, Japanese, Korean, Malay, Norwegian, Polish, Portuguese, Romanian, Russian, Slovak, Spanish, Swedish, Thai, Turkish, Ukrainian, Vietnamese
- Developer: iTunes S.a.r.l.
- © 2014 Apple Inc.
Description
Upgrade your Mac to OS X Yosemite and you’ll get an elegant design that’s both fresh and familiar. The apps you use every day will have powerful new features. And your Mac, iPhone, and iPad will work together in amazing new ways. You’ll also get the latest technology and the strongest security. It’s like getting a whole new Mac — for free.
Here’s what you’ll love about OS X Yosemite:
A fresh look for your Mac
• The Dock has a sleek new design with instantly recognizable icons.
• A beautiful new system font is crisp and easy to read.
• Translucency gives you a sense of what’s in, or behind, your window.
• Streamlined toolbars free up space for your content.
Handoff. Pick up where you left off.
• Start an activity on your Mac and finish it on your iPhone or iPad — or vice versa.
• Use Handoff with Mail, Safari, Pages, Numbers, Keynote, Maps, Messages, Reminders, Calendar, Contacts, and other apps.
iPhone calls. Now on your Mac.
• Make and receive calls on your Mac even when your iPhone is in the next room.
• Just click a phone number you see in Contacts, Calendar, Messages, Spotlight, or Safari to make a call.
SMS. Those green text messages on your iPhone? They’re now on your Mac, too.
• All of your messages now appear on all of your devices.
• Send and receive SMS text messages right from your Mac.
Instant Hotspot gives you the Internet anywhere.
• Easily activate the personal hotspot on your iPhone right from your Mac.
• Connect to your personal hotspot without taking your iPhone out of your pocket or bag.
AirDrop. Now between Mac and iOS devices, too.
• Share files to another Mac or to an iOS device, even when you don’t have an internet connection.
New Today view in Notification Center.
• Handy widgets give you quick access to up-to-the-minute calendar, weather, and stock information.
• Add widgets from the Mac App Store.
Spotlight. Now even brighter.
• Spotlight has a new design that delivers rich, interactive previews to your desktop.
• Get results from your Mac and from Wikipedia, news, Maps, movies, iTunes, and more.
• Convert currencies and units of measure right in Spotlight.
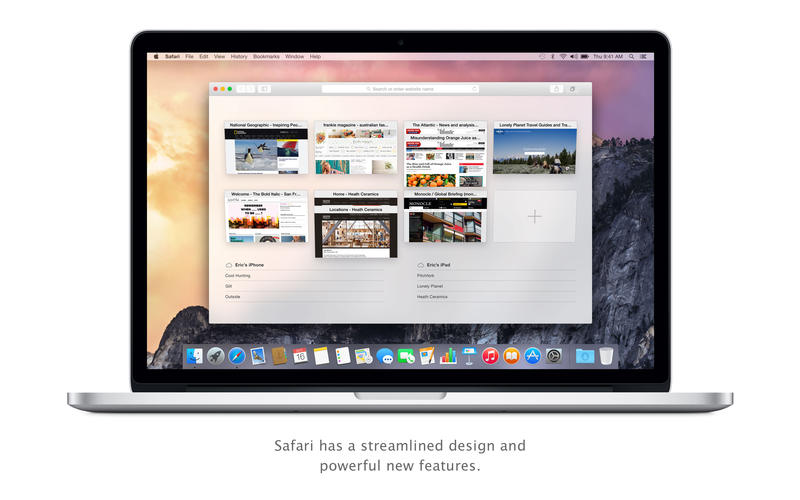
Safari is sleeker and smarter.
• Favorites view makes your favorite websites easily accessible.
• Spotlight suggestions provide handy information snippets from Wikipedia, Maps, and more when you search.
• Advanced energy-saving technologies let you watch Netflix for up to three hours longer.
New features in Mail.
• Markup lets you fill out and sign a PDF form or annotate an image without leaving Mail.
• Mail Drop lets you send messages of up to 5GB without worrying about whether they’ll get through.
Enhancements to Messages.
• Give titles to your ongoing group conversations to make them easier to find.
• Add participants to a group conversation — no need to start a new one.
• Start a screen sharing session right from a conversation.
iCloud Drive. Any kind of file. On all your devices.
• Store any file in iCloud and access it from your Mac, iPhone, iPad, or even a Windows PC.
• iCloud Drive is built right into Finder and lets you organize files any way you want.
• See files from your iOS apps right on your Mac.
Family Sharing makes it easy for your family to enjoy your content.
• Up to six members of a family can share iTunes, iBooks, and App Store purchases without sharing accounts.
• Parents can approve kids’ purchase and free download requests with Ask to Buy.
Handoff requires an iOS device running iOS 8.
iPhone calls require an iPhone running iOS 8.
SMS requires an iPhone running iOS 8.1.
Instant Hotspot requires an iPhone or iPad with cellular connectivity running iOS 8.1.
Some features require an Apple ID, compatible hardware, compatible Internet access or cellular network; additional fees and terms apply.
Screenshots


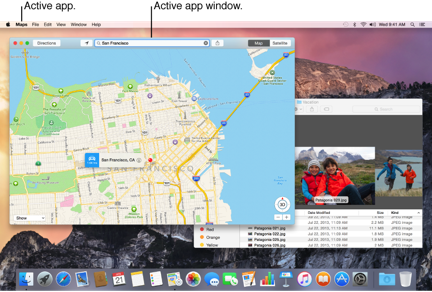


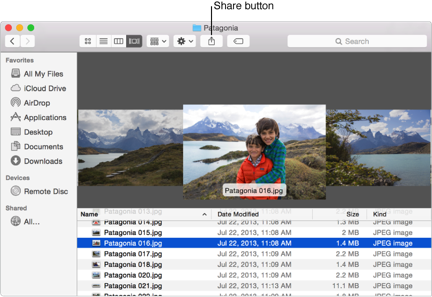
 Represented by the blue icon with the smiling face, the Finder is the home base for your Mac. You use it to organize and access almost everything on your Mac, including documents, images, movies, and any other files you have.


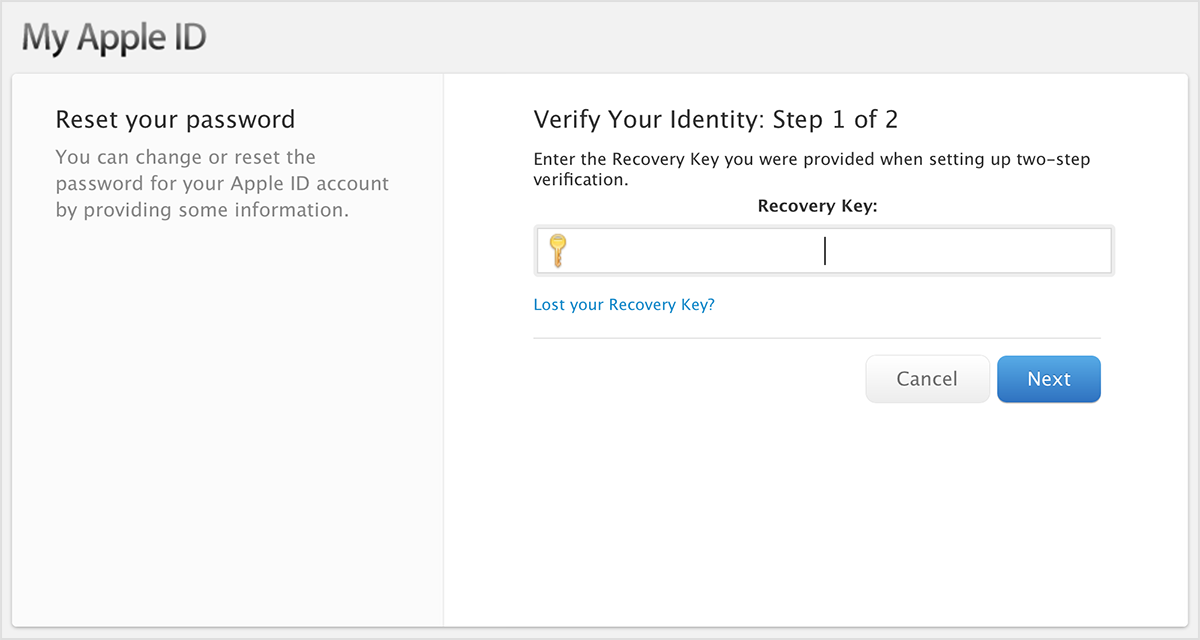
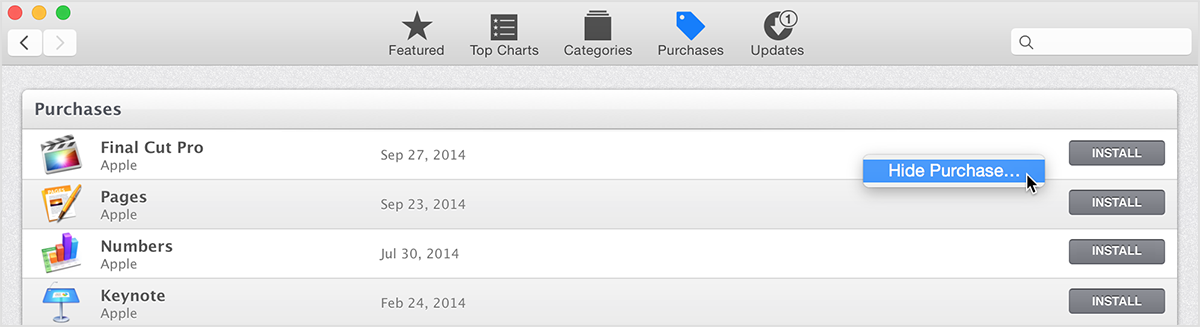
 Troubleshooting the Mac App Store


 Mac OS Classic Sound Pack is all of the old System sounds from the Classic days, converted and ready to add to your Mac or iOS device!


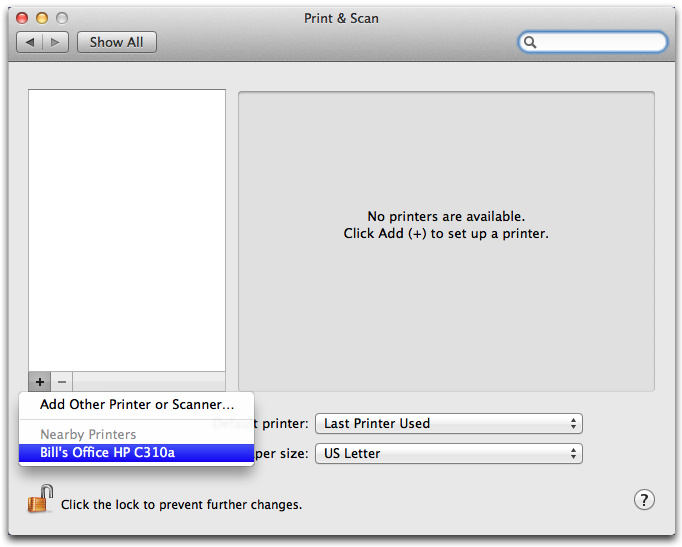


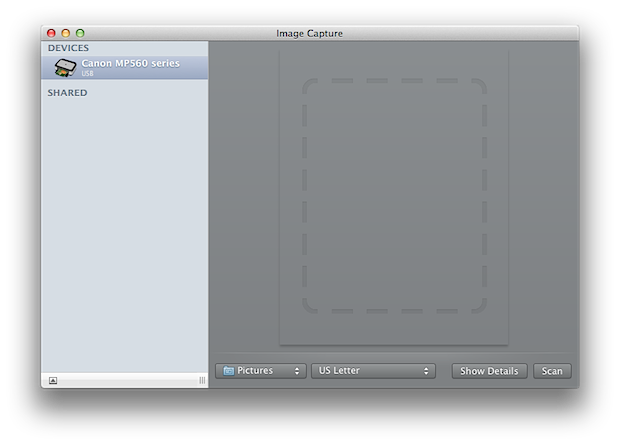
 With AirPrint, it’s easy to deliver full quality photo and document printing from your iOS and OS X apps. Just select an AirPrint printer on your local network to print from your favorite iOS or OS X app. AirPrint is built into most popular printer models. AirPrint features include easy discovery, automatic media selection, and enterprise-class finishing options.To use your AirPrint printer with Wi-Fi, the printer